Optimizing your gaming PC for 120Hz is essential for a smooth and responsive gaming experience. Whether you’re a competitive gamer or just want a better gaming setup, achieving 120Hz can elevate your gameplay. This guide will walk you through the key steps to optimize your gaming PC for 120Hz performance, ensuring you get the best visuals and responsiveness.
What Does it Mean to Optimize for 120Hz?
To optimize a gaming PC for 120Hz, you must ensure your hardware and software settings are configured to support high refresh rates. This includes selecting the right monitor, ensuring your graphics card is capable, and adjusting settings for optimal performance. By doing so, you’ll enjoy fluid motion, reduced screen tearing, and a more responsive gaming experience.
Key Steps to Optimize Your Gaming PC for 120Hz
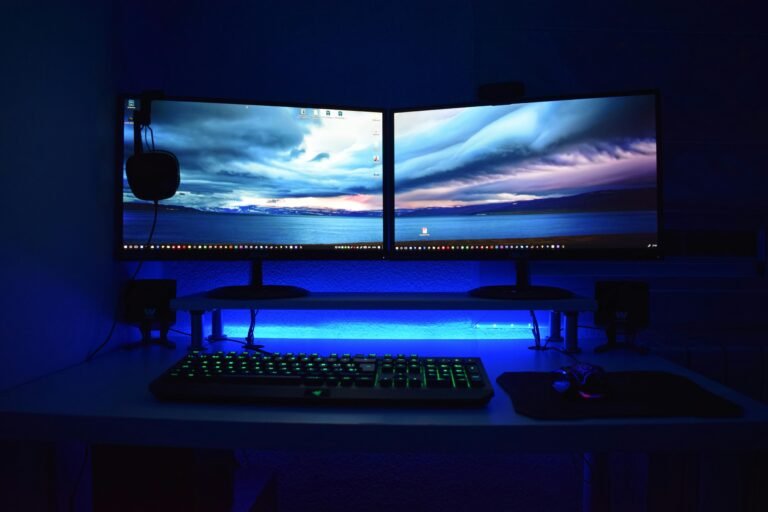
Choose the Right Monitor
Not all monitors support 120Hz. Make sure your monitor is specifically designed for a 120Hz refresh rate and can handle your PC’s performance. Look for a monitor with a higher refresh rate (at least 120Hz) and a low response time for the best gaming experience.Check Your Graphics Card
Ensure that your graphics card (GPU) supports 120Hz. High-end GPUs from brands like NVIDIA and AMD can handle 120Hz easily. However, older or lower-end GPUs may struggle to reach that refresh rate, especially with demanding games. If your GPU can’t handle 120Hz, upgrading it may be necessary.Update Drivers
Keep your GPU drivers up to date. Graphics card manufacturers release frequent updates to improve performance, fix bugs, and ensure compatibility with newer monitors and games. Make sure you’re running the latest version to ensure optimal performance at 120Hz.Enable 120Hz in Display Settings
In your computer’s display settings, you must select 120Hz as the refresh rate. On Windows, go to “Display Settings” > “Advanced Display Settings” > “Refresh Rate” and set it to 120Hz.Adjust In-Game Settings
To maintain a stable 120Hz refresh rate, reduce your in-game settings, if necessary. Lowering graphics settings like shadows, anti-aliasing, and texture details can help boost your FPS (frames per second), allowing you to achieve 120Hz more consistently.V-Sync and G-Sync/FreeSync
To reduce screen tearing and ensure smooth gameplay, enable V-Sync or use technologies like G-Sync (NVIDIA) or FreeSync (AMD) if your GPU and monitor support them. These sync technologies adjust your FPS to match your monitor’s refresh rate, reducing stuttering and tearing.
Pros and Cons of Optimizing for 120Hz
Pros:
- Smoother Gameplay: Higher refresh rates lead to smoother motion, especially in fast-paced games.
- Reduced Screen Tearing: With 120Hz, you experience less tearing, resulting in cleaner visuals.
- Improved Competitive Advantage: Higher refresh rates give you a faster response time, crucial for competitive gaming.
Cons:
- Requires Higher-End Hardware: Achieving 120Hz may require an upgrade to your GPU or monitor, which can be costly.
- Increased Power Consumption: Running a gaming PC at higher refresh rates demands more power.
- Performance Drop in Demanding Games: Certain AAA games may require settings adjustments to hit 120Hz, possibly affecting visual quality.
Optimizing your gaming PC for 120Hz will improve your overall gaming experience, making it smoother and more responsive. By choosing the right hardware, adjusting in-game settings, and ensuring your drivers are up to date, you can achieve optimal performance. Keep in mind the trade-offs, such as the need for higher-end hardware, but the improvements in gameplay can be well worth it for gamers who demand the best.